
7.6/10
Mid Segment12 yr life
LX Desk Monitor Arm
Ergotron
A polished-aluminum single arm for monitors up to 34 inches and 25 pounds, with broad articulation, Constant Force adjustment and a 10-year warranty.
- Repair
- 6.5/10
- TCO
- 8.1/10
$229.99
Durable buying guide
Monitor arms free desk space and enable adjustable display positioning. Compare each arm’s supported weight, VESA pattern, height and tilt range, then confirm desk thickness and clamp or grommet fit. Cable routing and a clearly stated warranty are also useful for long-term ownership.
9 products
A balanced blend of performance, quality, and price for the discerning user.
Ergotron
A polished-aluminum single arm for monitors up to 34 inches and 25 pounds, with broad articulation, Constant Force adjustment and a 10-year warranty.
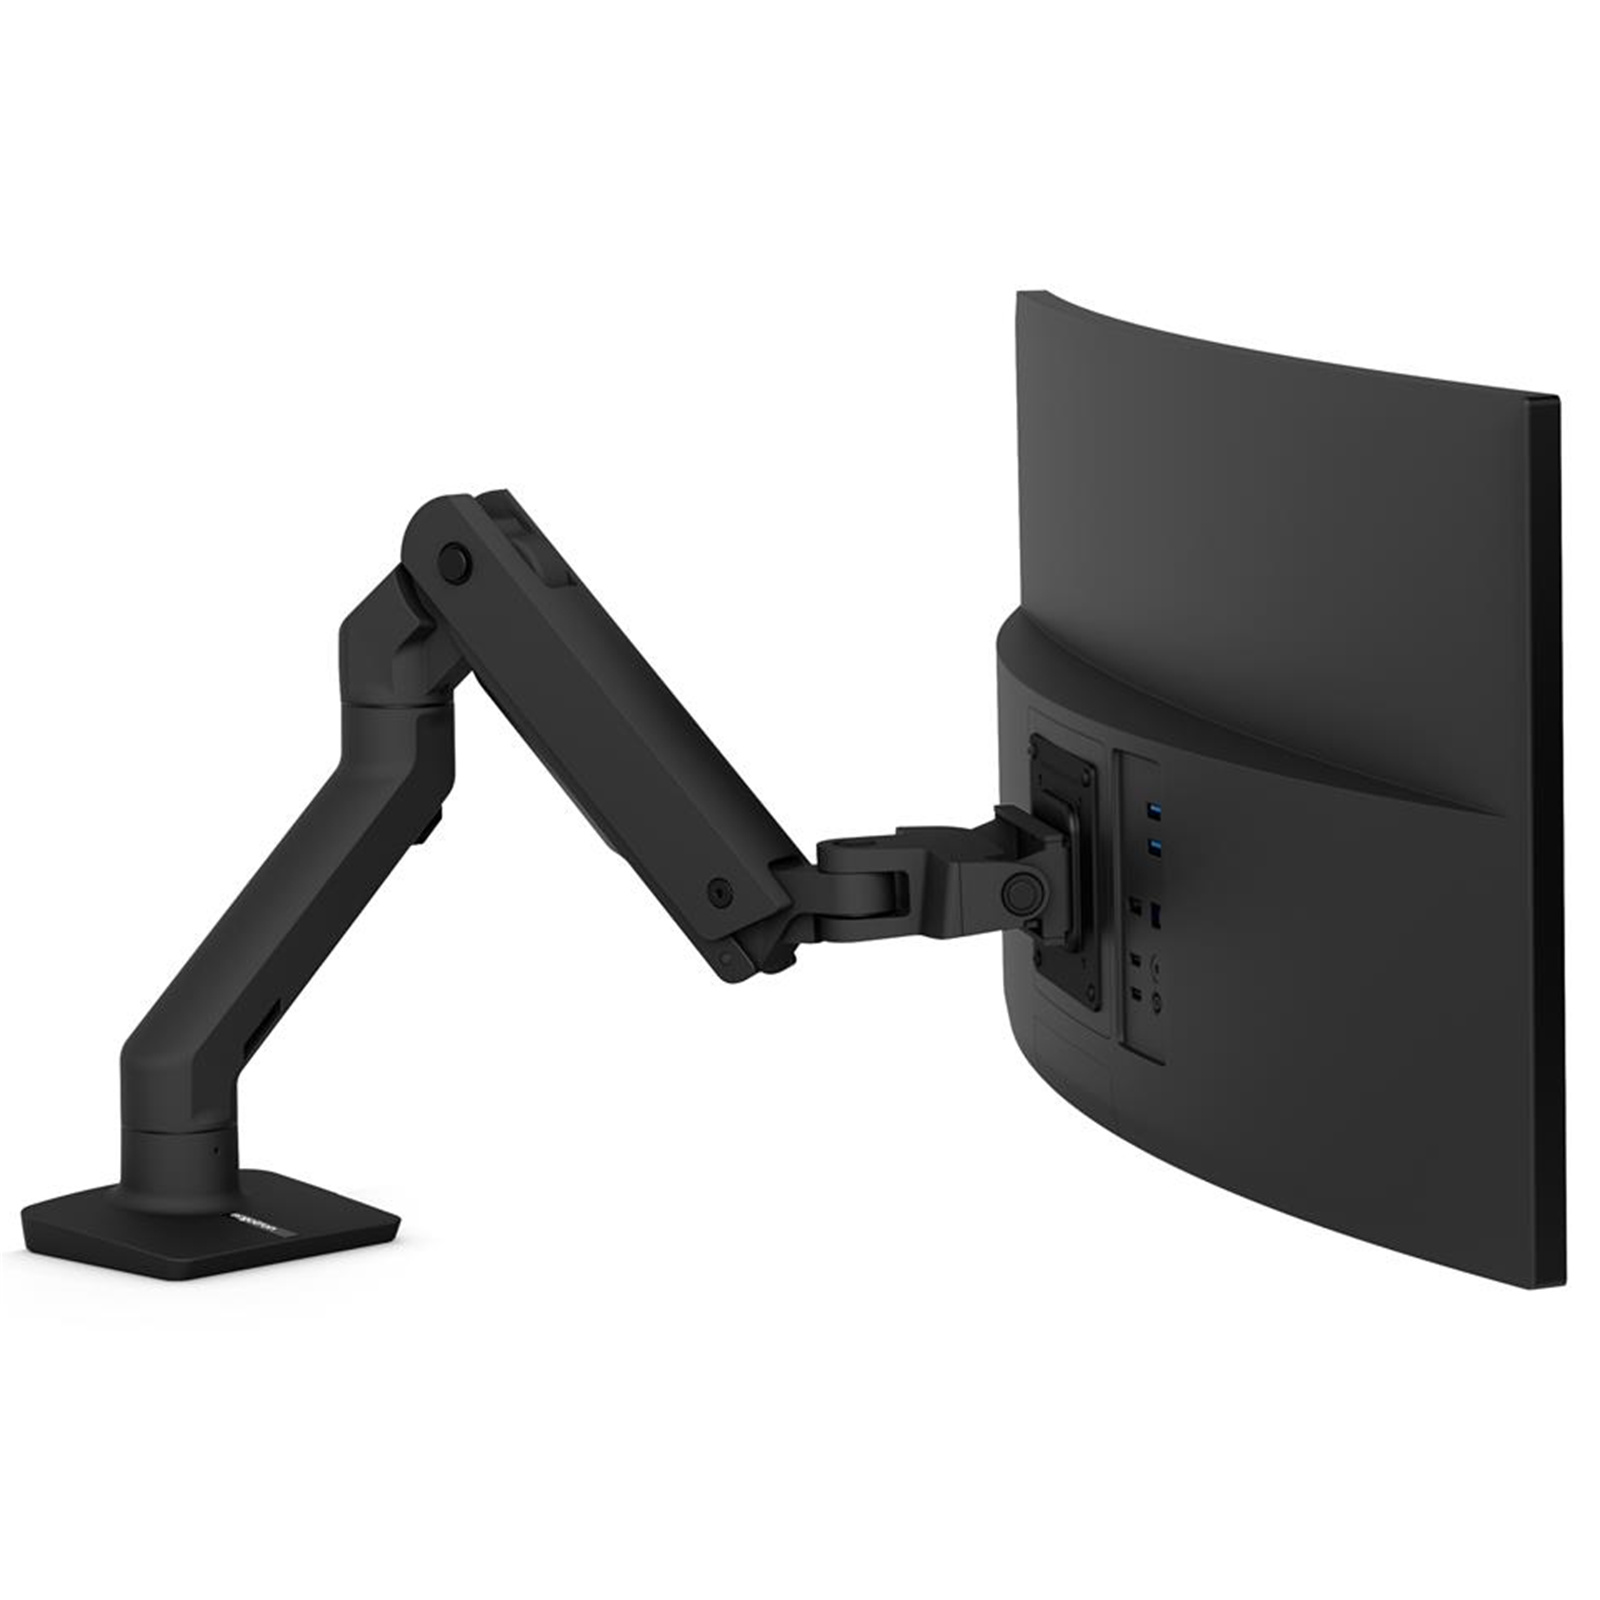
Ergotron
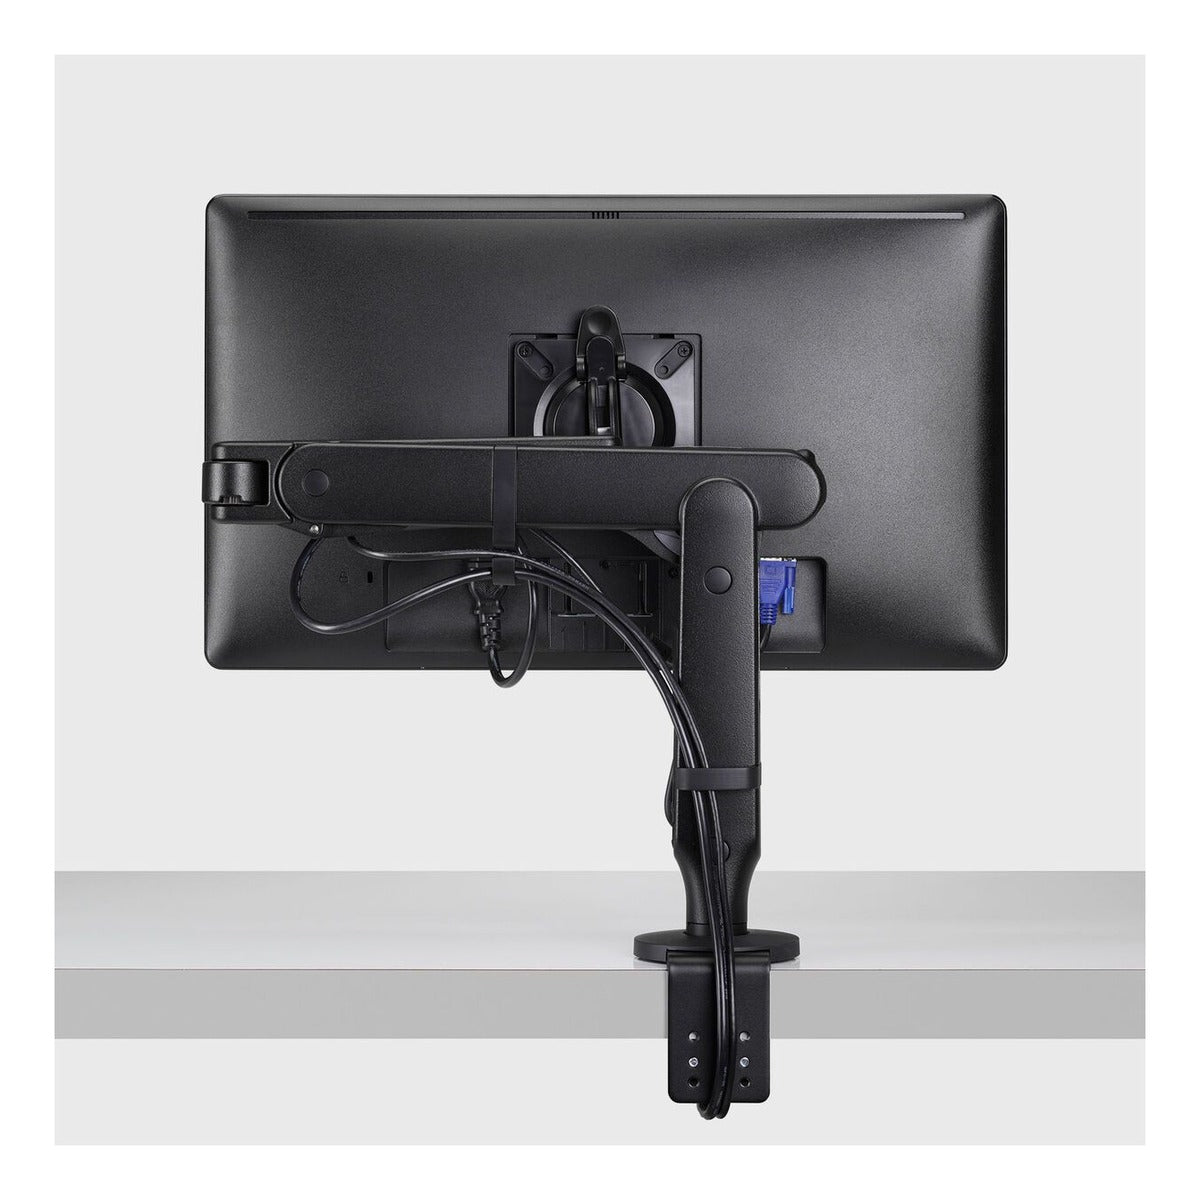
A heavy-duty single arm for large displays up to 49 inches and 42 pounds, with Constant Force movement, rotation-stop control and 10-year coverage.
Herman Miller
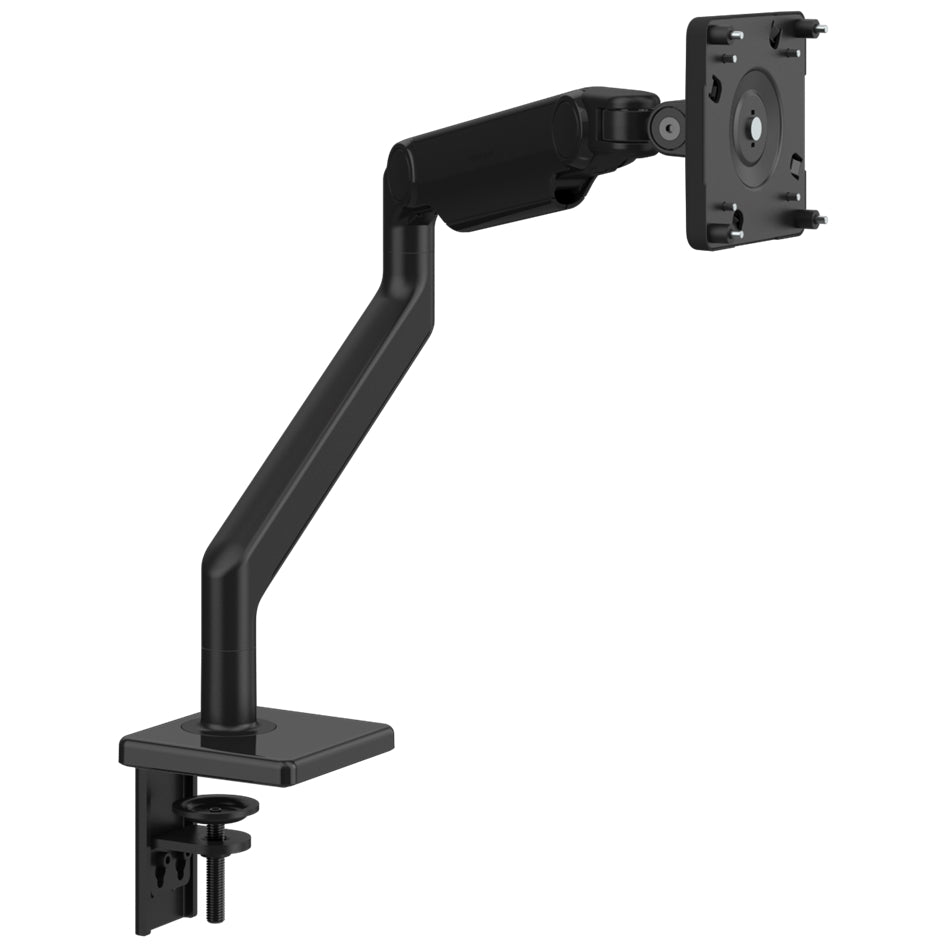
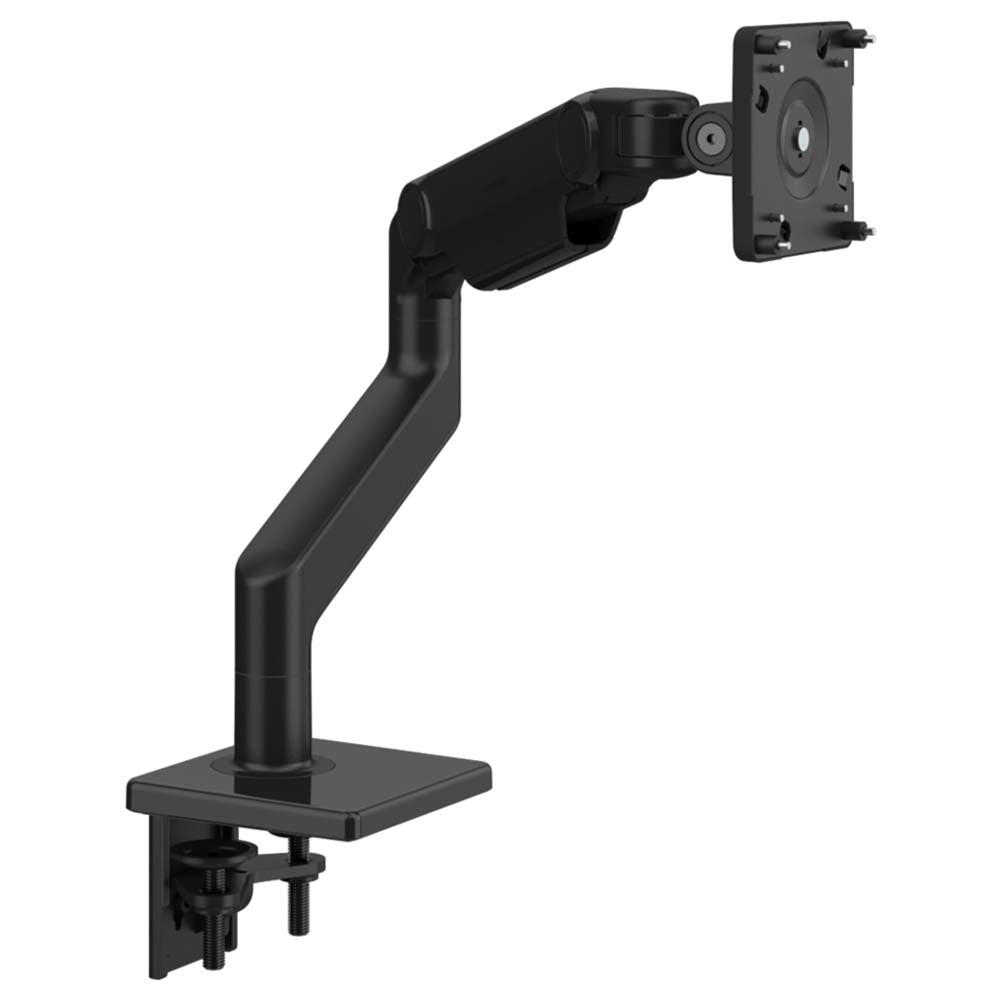
A low-load single monitor arm with unusually light-touch movement, 26.5 inches of horizontal reach and Herman Miller's 12-year warranty.
Humanscale
A discontinued heavy-display arm rated for 6 to 28 pounds, with quick-release construction and retained warranty support; M8 Pro is its current replacement.
Steelcase
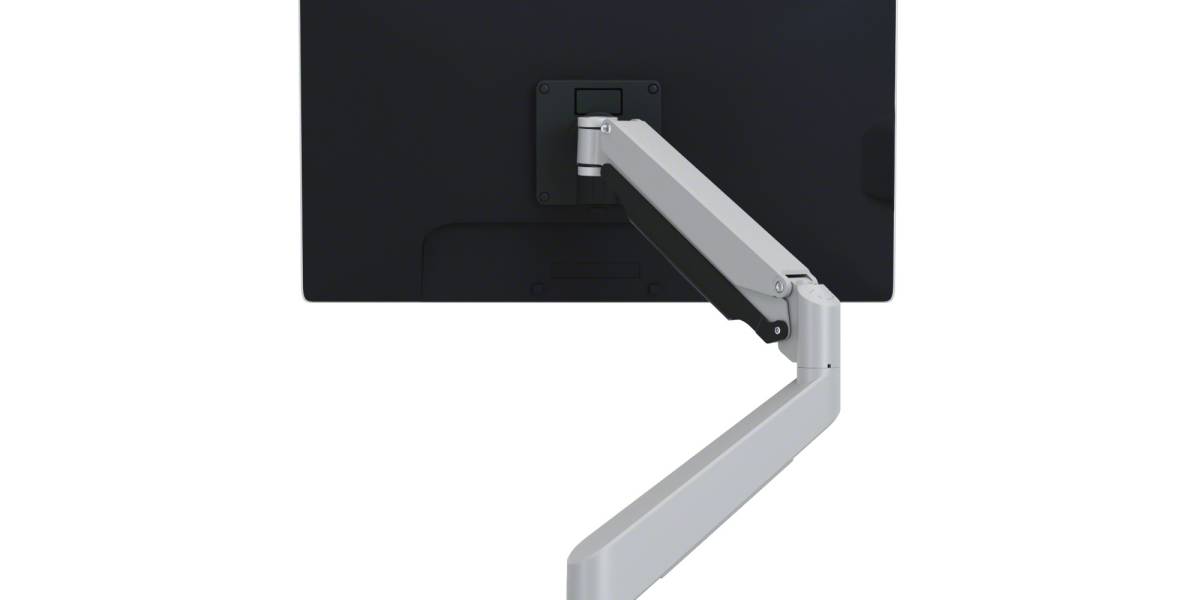
A commercial single arm for 2-to-20-pound displays, with quick-release VESA mounting, top-down desk attachment and Steelcase's 12-year warranty.
Vari
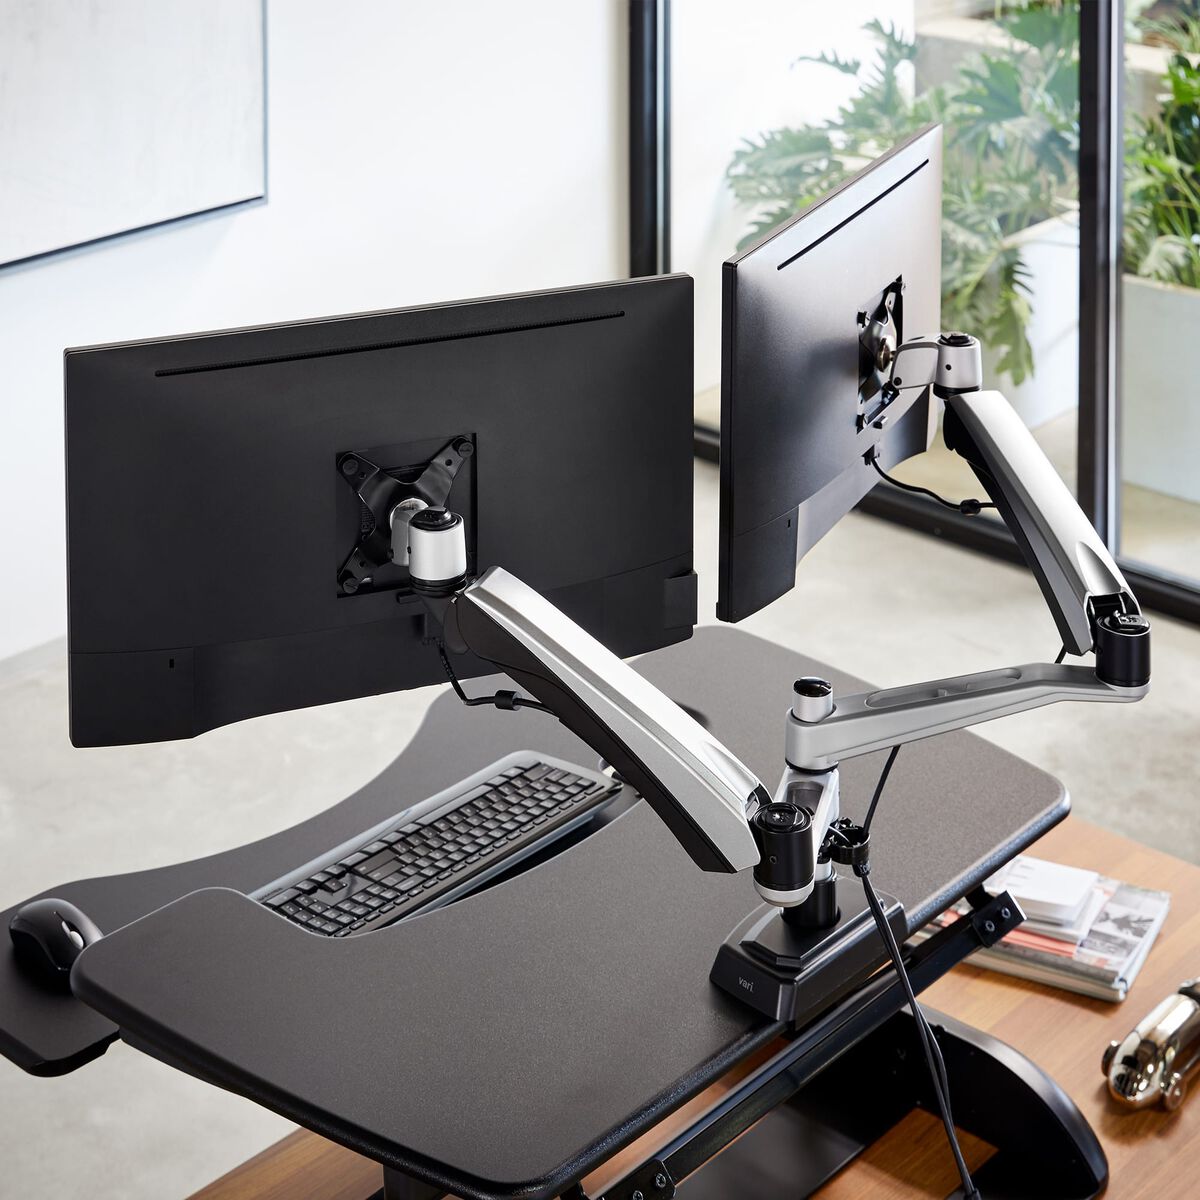
A silver dual gas-spring arm for two monitors up to 27 inches and 19.8 pounds each, with 29-inch reach and a 10-year warranty.
ESI
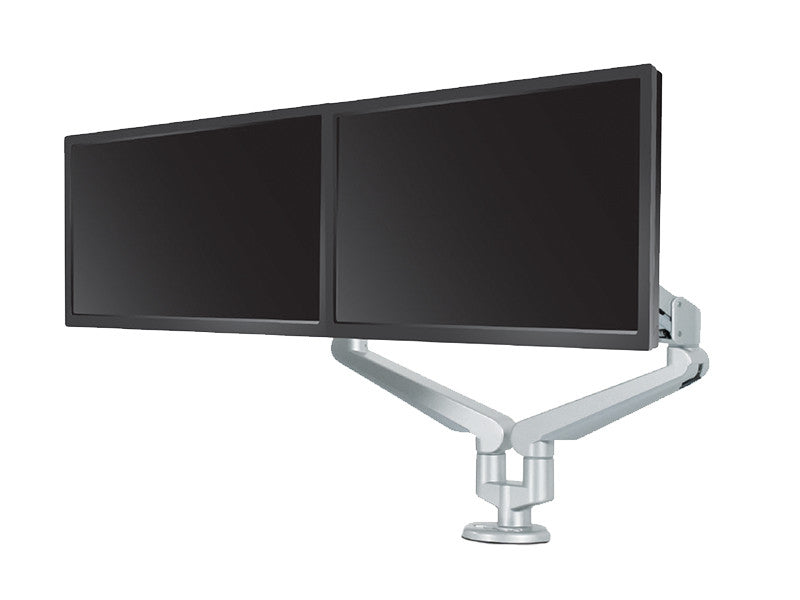
A dual dynamic arm for two displays from 6.5 to 17.6 pounds each, with quick-release VESA plates, 180-degree lockout and 15-year coverage.
Dell
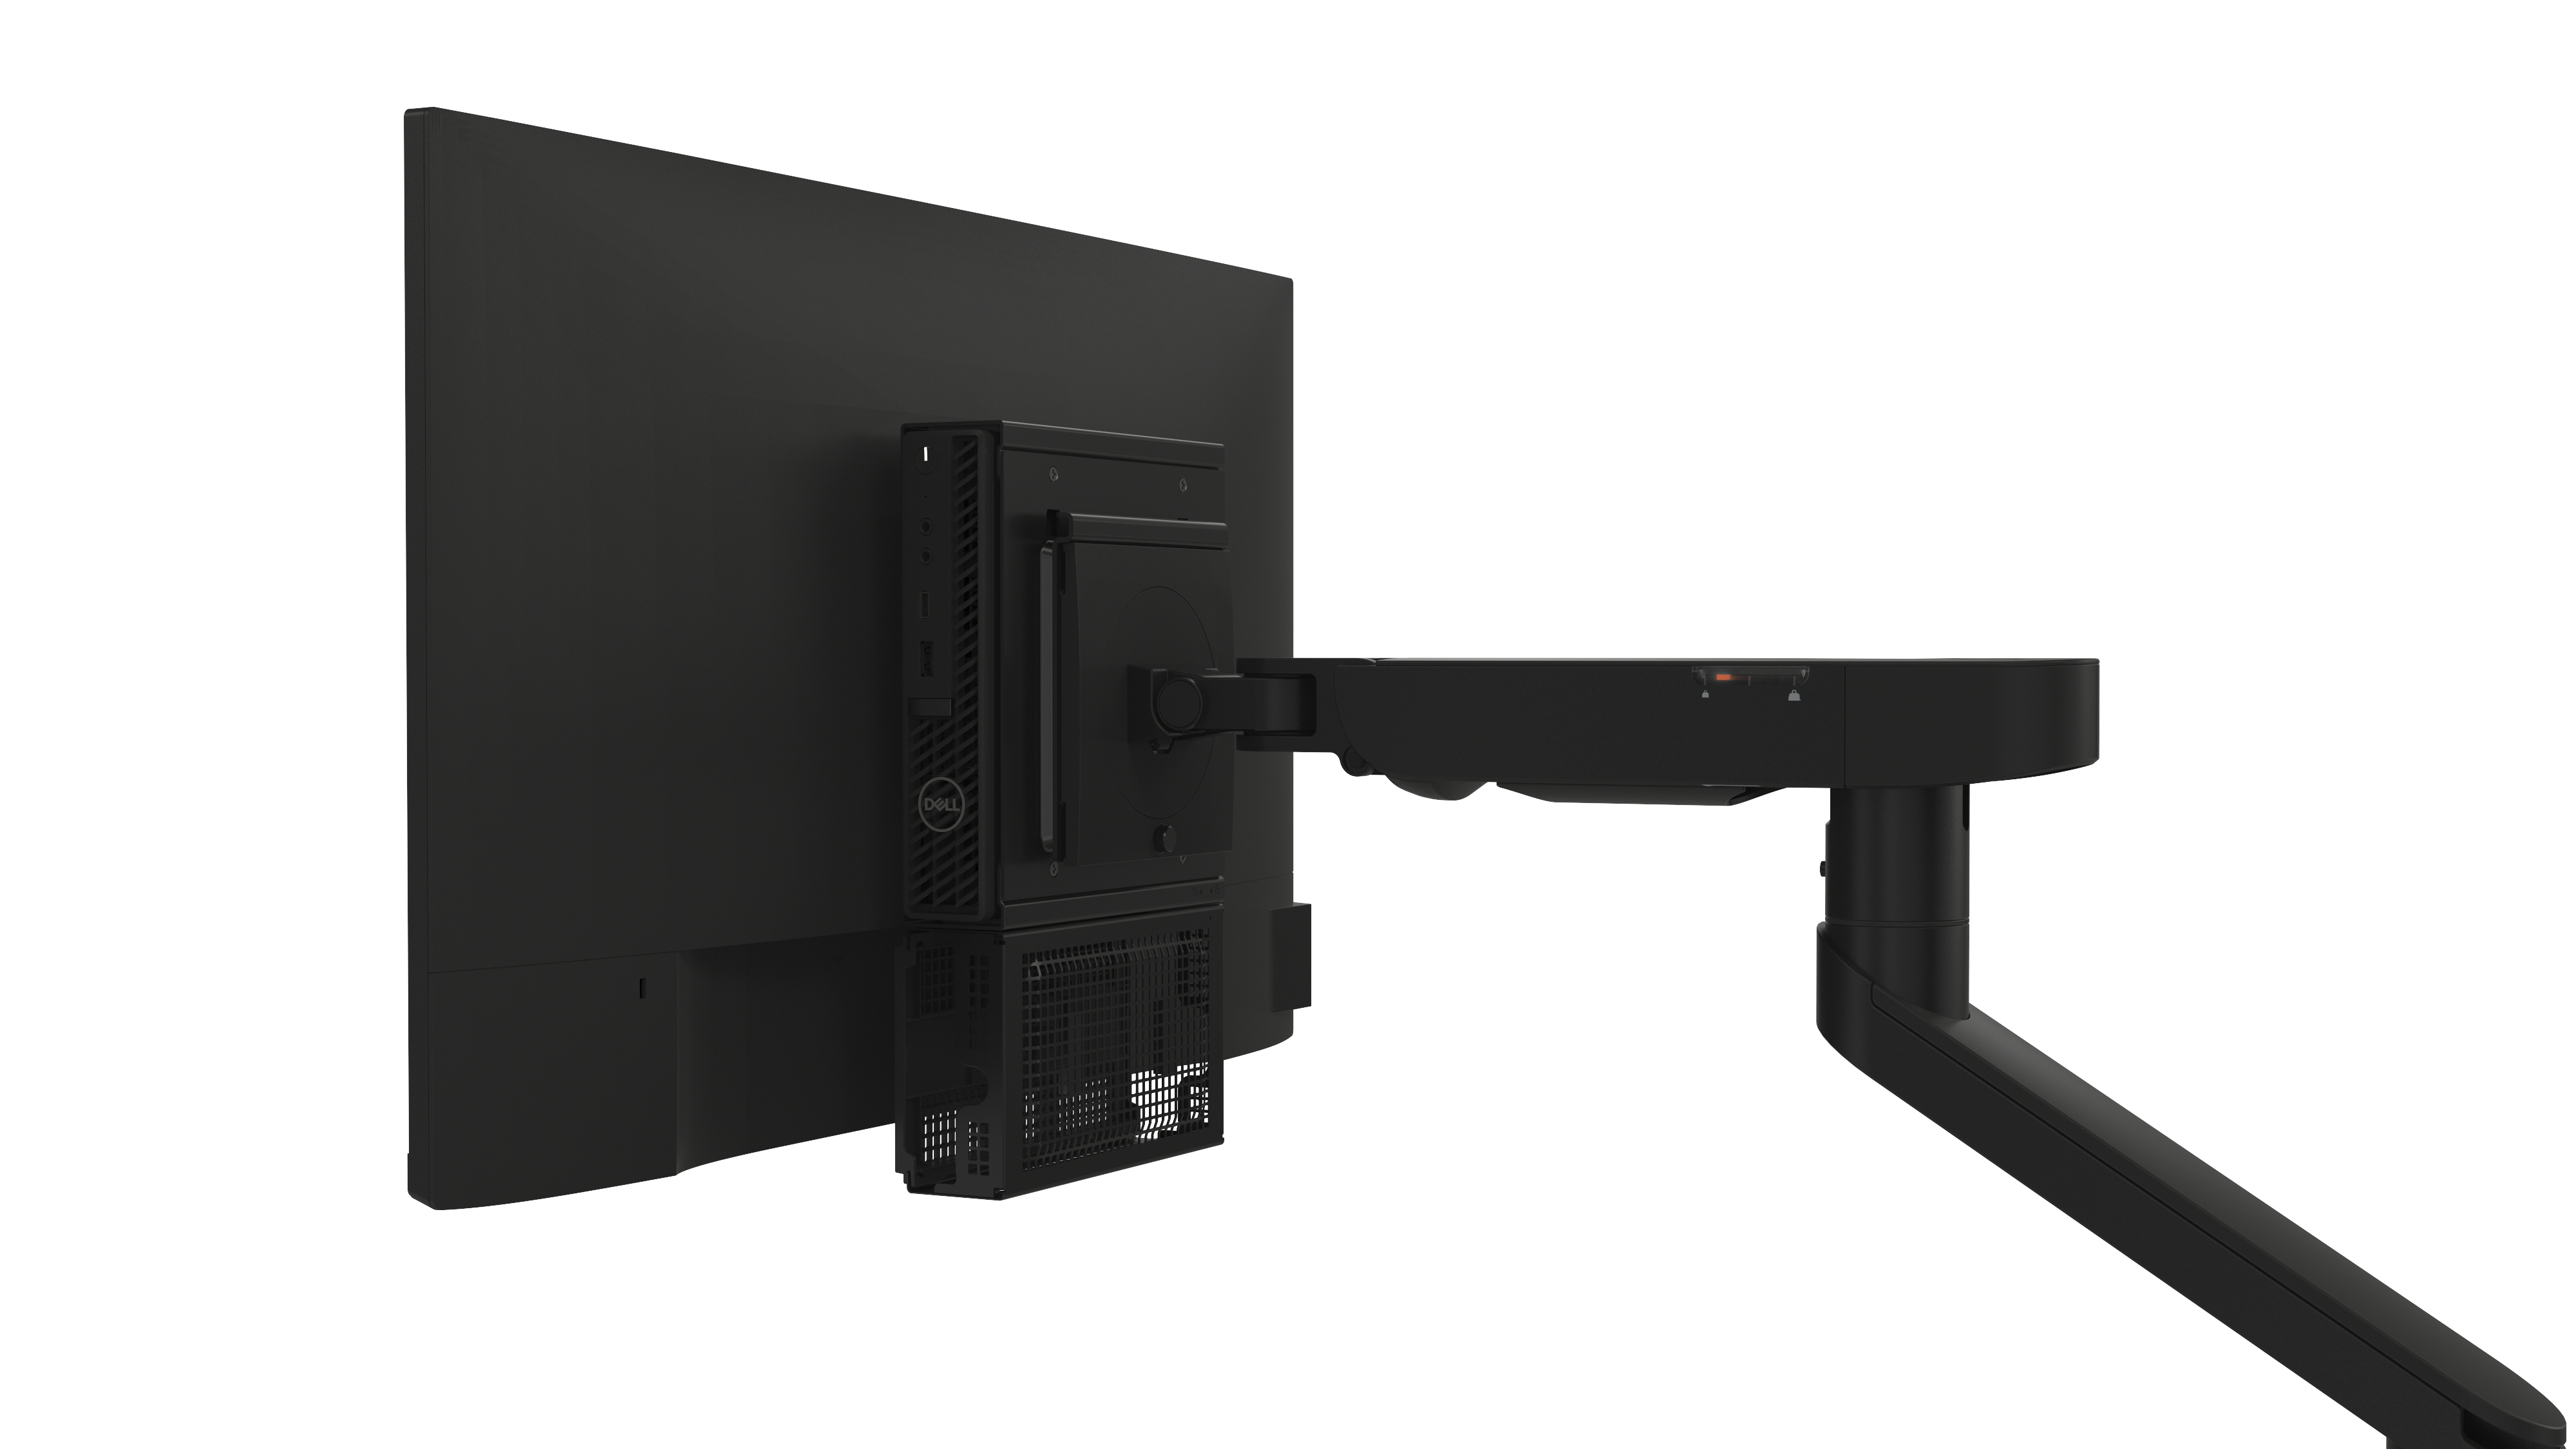
A tool-light single arm for 19-to-40-inch monitors from 4.9 to 22 pounds, combining Dell Quick Release with standard VESA support and built-in cable channels.
3 products
Budget-conscious selections offering the best value and reliability for essential needs.
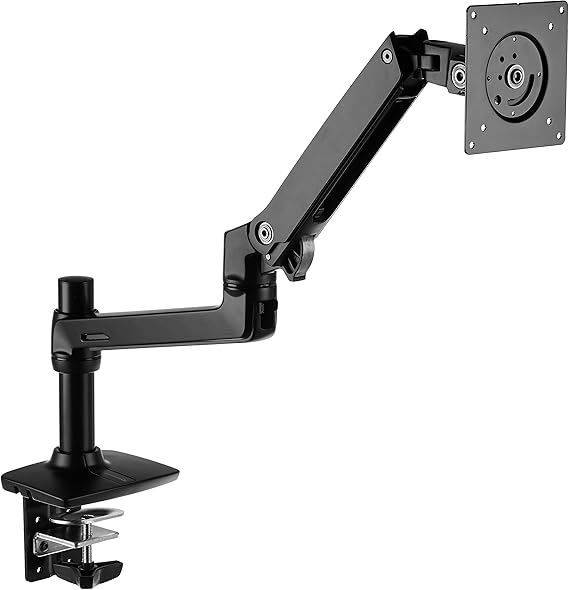
Amazon Basics
A legacy gas-spring desk arm for screens up to 32 inches and 25 pounds, with VESA 75/100 support and clamp or grommet mounting.
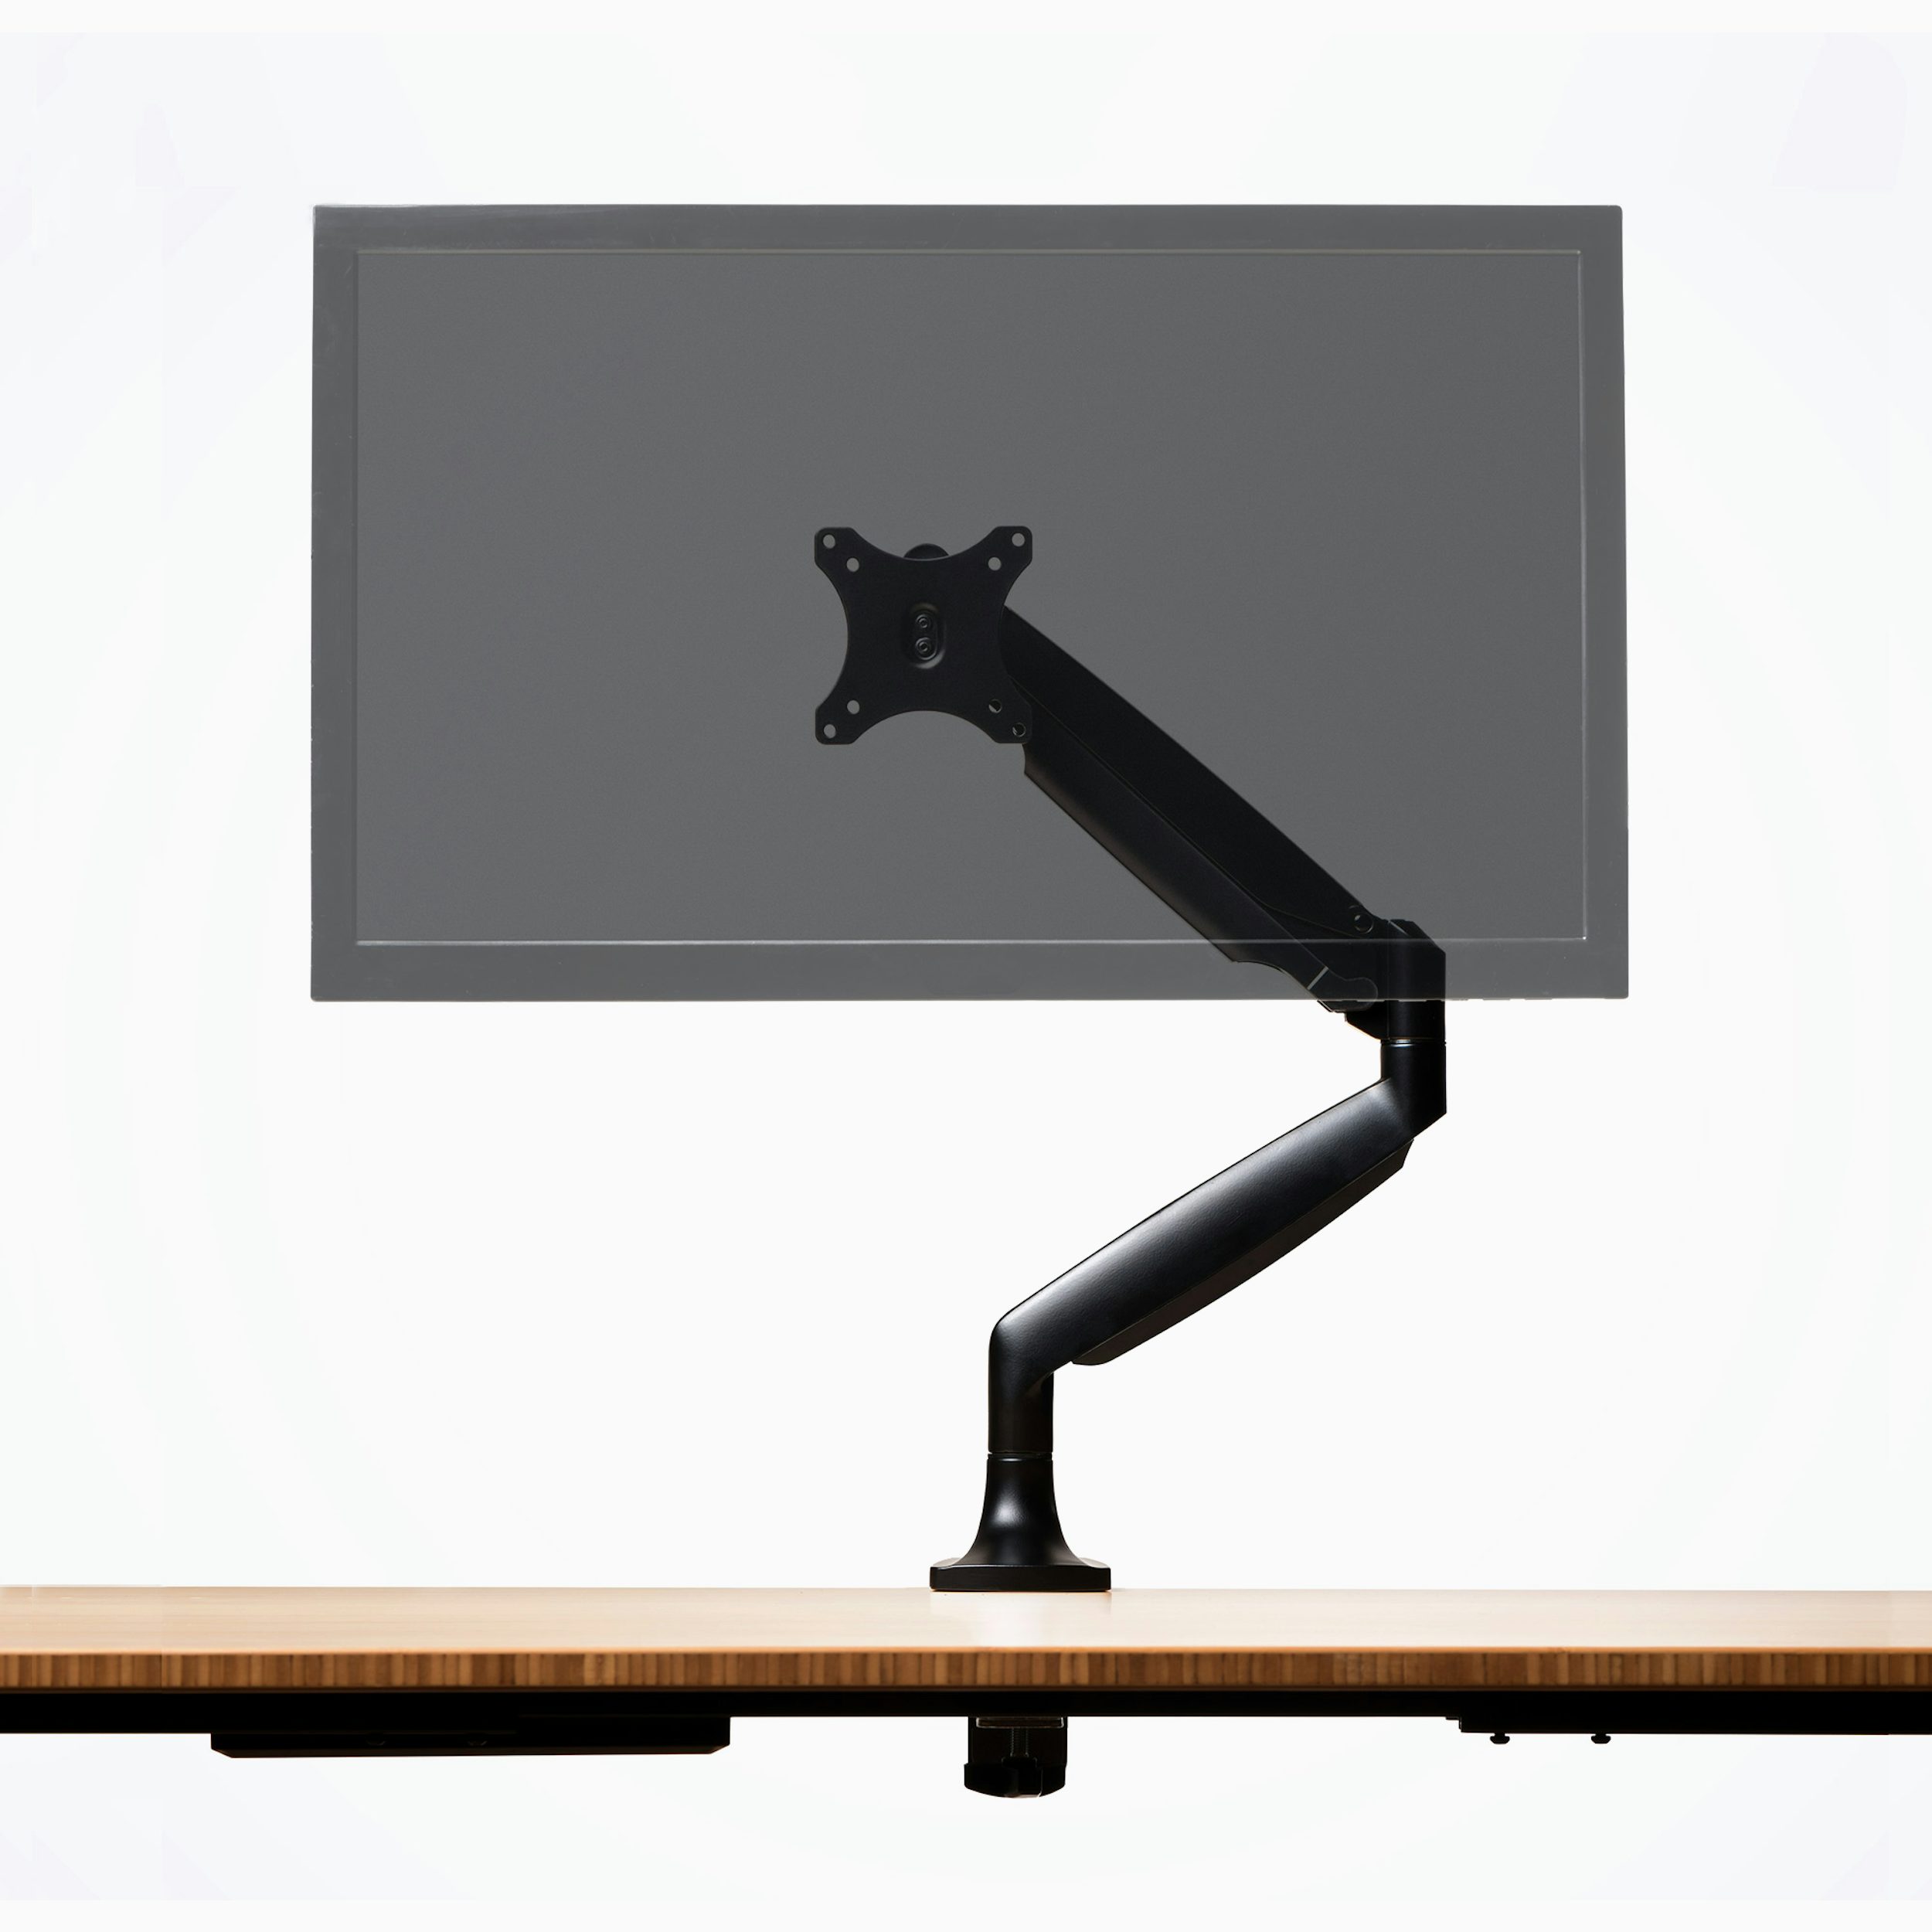
Herman Miller
A current single monitor arm for 13-to-32-inch screens up to 19 pounds, with removable VESA plate, clamp/grommet mounting and 10-year coverage.
Shop by brand
Buying guide
Start with the monitor’s weight without its original stand, then confirm the arm’s minimum and maximum load, VESA hole pattern, and any limits tied to display depth or curvature. Screen size is only a rough guide: Ergotron’s LX sheet explicitly allows a larger diagonal when the display remains within its 7–25 lb capacity, while the HX uses different load ranges and pivots for heavier or deep curved displays. Check the exact arm-and-pivot combination rather than assuming one rating covers every configuration.
Measure the desktop thickness, edge clearance, underside obstructions, and any grommet hole before buying. A clamp and a through-desk grommet are not interchangeable in every workspace, and each model has its own permitted dimensions. The AMQ installation guide, for example, specifies a 20–100 mm desk range and an 8.5–70 mm hole for that particular mount. More important, it states that the surface must carry the combined mount-and-display load or be reinforced. Treat hollow-core or visibly flexing tops cautiously.
Compare lift, extension, tilt, rotation, and base-swing limits with the positions you will actually use; maximum reach alone does not ensure a good fit. Include the VESA plate’s location on the monitor, the depth of the display, portrait clearance, and the wall space behind the desk. As an ergonomic check, OSHA’s laboratory workstation guidance places the monitor about 18–30 inches away with the top of the screen approximately at eye level. Choose an arm whose measured range can reach those positions for the intended user and desk.
A durable arm should hold height and tilt after adjustment without forcing cables through a tight bend. Confirm that tension can be tuned for the installed display and that the adjustment hardware remains accessible once the monitor is mounted. The AMQ guide instructs users to change arm tension when the monitor rises or falls and to check joint screws periodically; Ergotron’s LX and HX sheets show cable routing beneath the arm. Leave generous service loops and move the arm through its full range before finalizing cable ties.
Prefer specific, documented durability signals over a long feature list. Ergotron states that both its LX and HX arms pass a 10,000-cycle motion test and carry a 10-year warranty; those claims are more useful than an unsupported promise of premium construction. Read the warranty terms for the exact model and market, and check whether clamps, pivots, VESA hardware, and cable parts can be obtained separately. After installation, inspect the clamp, desk surface, fasteners, tilt hold, and height hold on a regular schedule.
FAQ
Check the display’s weight without its original stand, the mounting-hole pattern, and any recess or obstruction around those holes. Treat the advertised screen diagonal as secondary: Ergotron states that its LX can exceed the listed 34-inch approximation if the display remains within the mount’s weight limit, and it specifies 75 x 75 mm and 100 x 100 mm VESA patterns. Confirm every limit for the exact arm and configuration.
A clamp attaches at an accessible desk edge and usually avoids drilling; a grommet mount passes through a suitable hole and may work where edge access is poor. Measure the desktop and hole before buying because ranges differ by model. For example, StarTech lists a 20–100 mm desktop range for this arm’s desk clamp, a 20–50 mm range for its grommet clamp, and a 10–60 mm grommet-hole range. Also confirm that the desk structure can carry the arm and display load.
Choose enough lift, reach, and tilt to place the screen directly in front of the user without leaning or turning. OSHA’s workstation guidance recommends at least 20 inches of viewing distance, generally 20–40 inches, with the top of the monitor at or slightly below eye level. It also advises positioning the screen perpendicular to a window and adjusting tilt to limit glare. Required range can change with user height, bifocals, desk depth, and sitting or standing posture.
Neither layout is universally preferable. A dual system can reduce the number of desk mounts and coordinate two displays, but its per-screen limits and geometry may be more restrictive. StarTech’s cited dual arm supports 9 kg per display, while Humanscale describes different limits for a single monitor and an optional dual-monitor crossbar. Compare each screen’s weight, desired side-by-side or stacked position, independent movement, and the total load applied at the desk mount.
Sagging or drift can result when the display falls outside the supported load range, the spring or counterbalance is not adjusted for the installed weight, or a joint or desk attachment is loose. StarTech describes spring-assisted height adjustment with user-adjustable tension, while Humanscale identifies a weight-compensating spring and counterbalance indicator on its M8 line. Install the display first, follow the exact manual’s adjustment sequence, and retest after changing the monitor or accessories.
Look for a stated motion-cycle test, a written warranty, accessible installation documents, and hardware that can be reconfigured without replacing the whole assembly. Ergotron says the cited LX passes a 10,000-cycle motion test and carries a 10-year warranty. StarTech also states a 10,000-cycle test and 10-year warranty for the cited dual arm. These claims do not guarantee service life, but they are more useful than an unsupported durability label and should be checked for the exact model and region.
Route power and signal cables through the arm’s intended guides while leaving enough slack at every moving joint and at the display connector. Move the arm through its full range before regular use to check for pulling, pinching, or sharp bends. Humanscale describes top-to-bottom cable management on the M8 line, and StarTech lists adjustable cable management on its dual arm; the precise path and retention method still depend on the model’s manual.
Honoring the visionaries whose work paved the way for the products we rely on today.
Rob Mossman is identified in the monitor-mount history as the holder of a patent for inventing a monitor mount, dated September 20, 2006. The same account notes mounts were already available before that patent, so his contribution is tied to documented patent history rather than sole category origin.
VESA established the Flat Display Mounting Interface in 1997, defining a standard hole size and screw pattern for flat-panel displays. Wikipedia reports that the interface remains widely used and that monitor mounts generally follow the VESA pattern, making the organization central to cross-brand compatibility.
Wikipedia lists Ergotron among companies producing monitor mounts from the early 2000s, when lighter flat-panel displays broadened the practical use of adjustable mounts. Its inclusion represents an early commercial maker documented in the category's development.
Wikipedia lists Herman Miller among companies producing monitor mounts from the early 2000s, alongside Ergotron and other manufacturers. That places the company in the early commercial expansion of mounts for lighter flat-panel displays, rather than attributing an unsupported invention claim.
Research last refreshed
K. H. Kroemer and J. C. Robinette · 1969
This early office-furniture article is indexed by the National Library of Medicine under ergonomics, posture, spine, body height, kyphosis, and lordosis. It provides historical context for fitting workstation components to users; a monitor arm extends that fit by allowing display height and position to be adjusted independently of fixed furniture.
M. Alexander and C. E. Clauser · 1965
The National Library of Medicine identifies this 24-page Aerospace Medical Research Laboratories report as work on anthropometry in common working positions and indexes it under ergonomics, posture, and work. Its enduring relevance is the need to accommodate variation in human dimensions rather than relying on a single fixed display position.
M. I. Bullock and J. J. Lanchester · 1969
This report frames ergonomics as a response to work that may demand less total energy yet concentrate stress on small parts of the musculoskeletal system. That historical observation is relevant to monitor positioning because display placement can shape sustained head and upper-body posture, while adjustability helps fit the workstation to the task and user.